I love hollyhocks. This year, I tried growing them from seed. Hollyhocks are tall, colorful, and bring a rustic vibe. They attract pollinators and take you back in time. Knowing how to grow hollyhocks is key. My experience will show you how to keep your hollyhocks blooming year after year.
What Do Hollyhock Seeds Look Like?
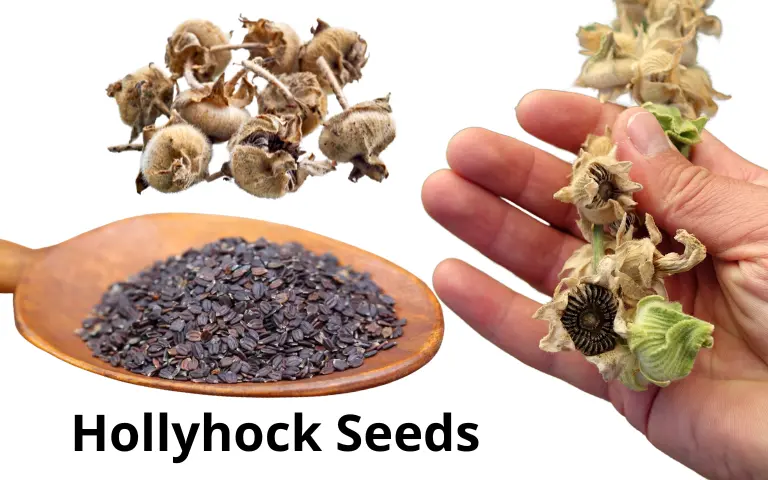
Hollyhock seeds are easy to spot cause they look different from other flower seeds. Unlike the tiny seeds of many plants, hollyhock seeds are big, flat, and kinda round, with a rough feel. They’re found in large disk-shaped pods that form in the middle of old blooms. The seeds can be dark brown or black, standing out against the light pods. Their unique appearance not only makes them cool to look at but also simple to handle and sow in your garden.
Hollyhocks Benefits
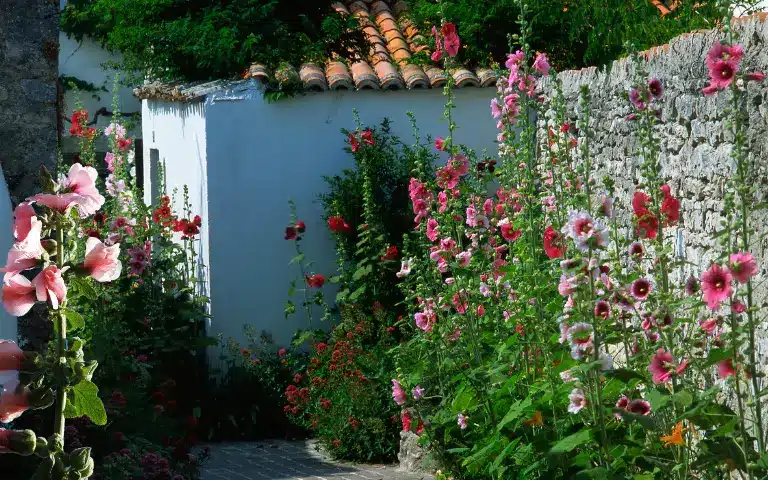
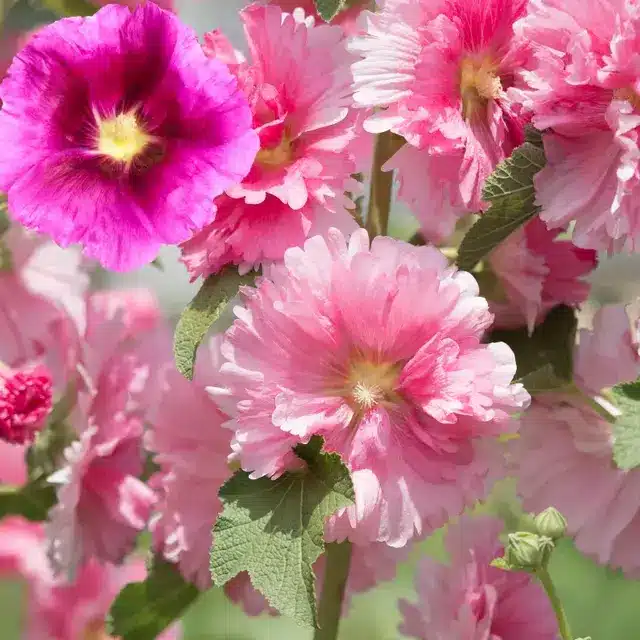
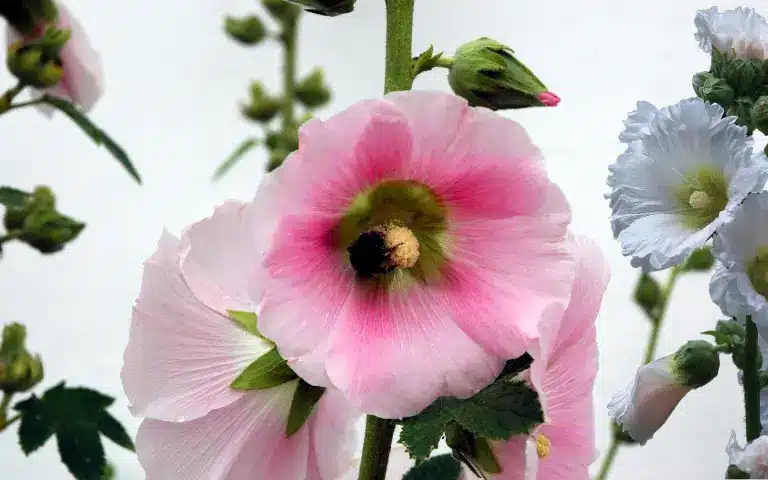
Hollyhocks are great plants! They’re one of the best you can grow in your garden. Their big flowers come in a wide range of colors and look like hibiscus flowers. They’re related to hibiscus plants!
- They are tall plants that look great in the garden.
- They can reach over six feet tall! They add structure and a dynamic look to the garden.
- The cottage garden style with plants of different heights.
- Hollyhocks are great for attracting bees and other pollinators.
- They can be annual or short-lived perennials, depending on the climate.
- You can save them for up to three years and get flowers all year.
How to Harvest Hollyhock Seeds
These seeds are the starting point for growing different hollyhock types, whether you want single or double blooms in colors from white to red.
Recognizing ripe seeds
The best time to collect the seeds is late summer to early fall, when the pods are brown and dry, These seeds are ready to be collected. A ripe pod opens to show dark seeds, which are ready to be harvested. Collect them before the pods open, or the seeds will scatter.
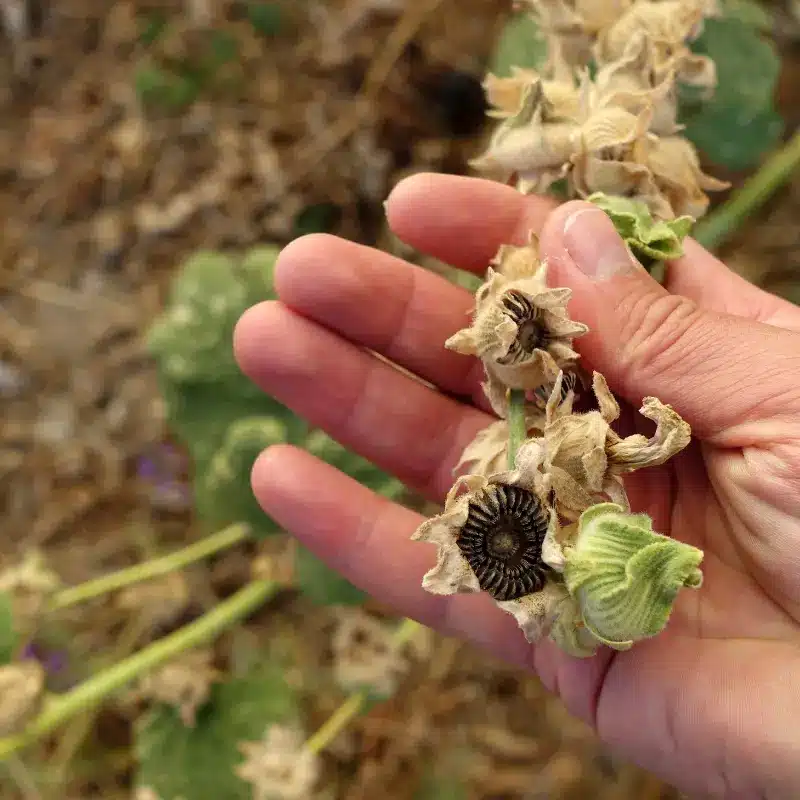
Harvesting hollyhock seeds
After finding ripe seed pods, the next step is to carefully collect hollyhock seeds. Use clean scissors or shears to cut the pods from the plant, being careful not to harm the surrounding stems or leaves.
- Cut the seed heads carefully.
- Let them dry more indoors.
- Crack them open to get the seeds.
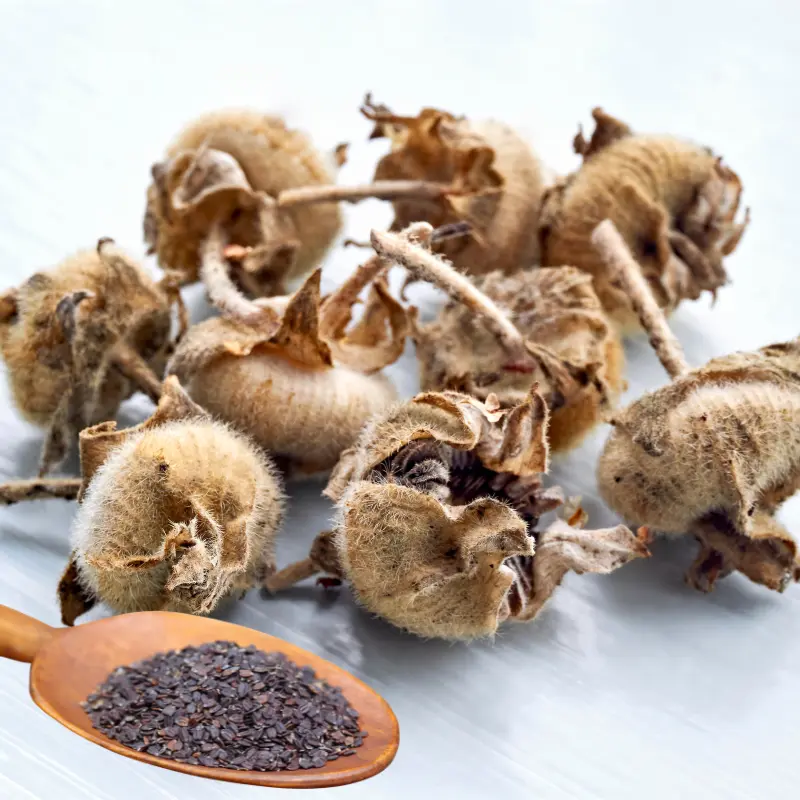
This way, you’ll have a bunch of seeds ready for planting next season.
Storing hollyhock seeds
Store hollyhock seeds properly to keep them viable until next planting season.
- Let them air out on a dry surface for a few days to remove moisture.
- Put them in a labeled, envelope and store in a cool, dry place.
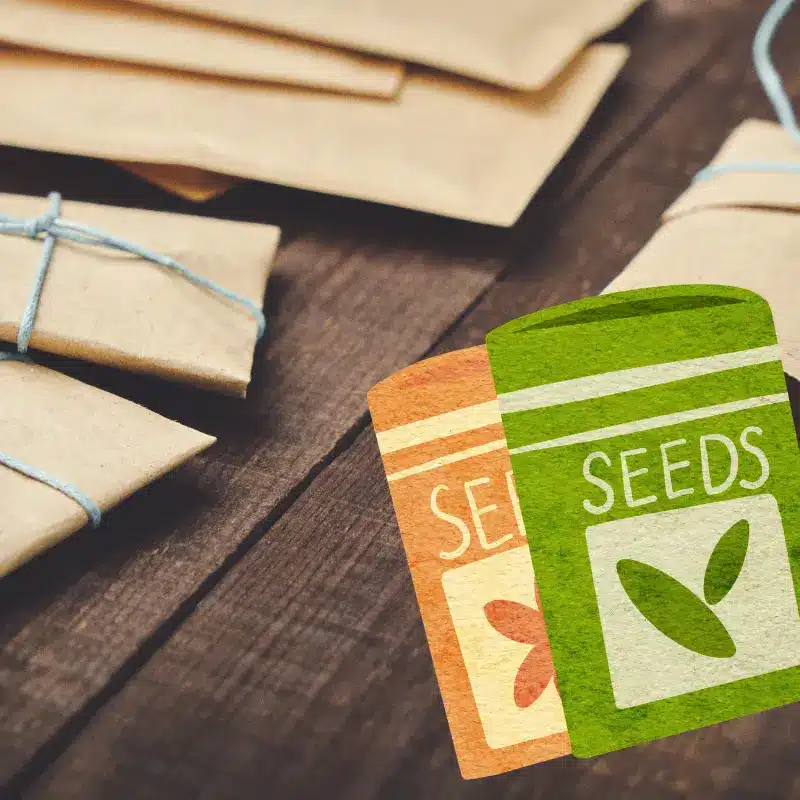
Avoid storing seeds in places with big temperature changes or high humidity, as these can harm the seed quality.
Planting Hollyhock Seeds: From Seed to Flower
Hollyhocks will germinate within about two weeks, maybe three. Some take about a month, depending on how good the seeds are. If they’re a couple of years old, some of them might not grow, or it might take a little longer for them to germinate. Here’s how:
1. Starting hollyhock seeds indoors
Starting hollyhock seeds indoors is a good way to get a head start on the growing season, especially in regions with shorter growing periods.
This method lets you control the moisture, light, and temperature, giving your hollyhocks a great start.
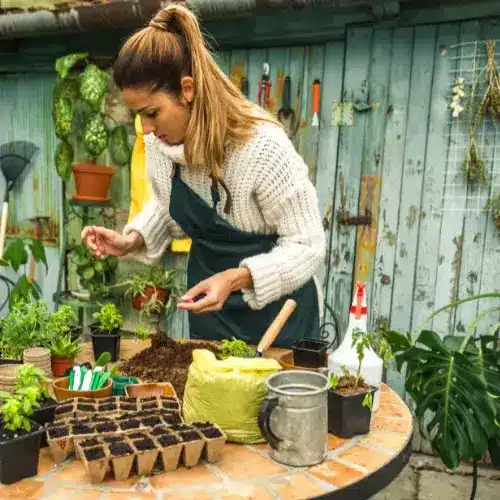
- About 6-8 weeks before the last frost, plant the seeds in separate pots with good-draining soil.
- The seeds need light to sprout, so just press them onto the soil surface instead of burying them.
- Keep the soil damp but not soaked.
- Keep the temperature around 70°F for best results.
When it’s time to take them outside, you’ll see that these early steps pay off with healthy growth and an early bloom, making your garden look more colorful for longer.
- Transplant your seedlings when they are young. They have delicate roots, so don’t disturb them too much. You can start them in small pots or plant them directly in their final location.
Choose a big pot – at least 10 or 12 inches in size – because hollyhocks get quite large and have big foliage.
I’ve grown mine in 18-inch pots, and they’re doing fine, but a bigger pot is best.
2. Direct sowing hollyhock seeds
If you prefer a simpler way, you can just plant hollyhock seeds directly in the garden.
Directly sowing the seeds helps the hollyhocks adapt better to their natural environment from the start. This can result in stronger roots and less shock when transplanting, leading to healthier plants. Plus, hollyhocks planted directly in the garden often give off a more natural.
- Pick a sunny spot with good drainage.
- Sow the seeds in spring after the frost or early autumn.
- Lightly rake the soil, scatter the seeds, and press them in gently without covering them completely.
- Water the area softly and keep it moist until the seeds sprout.
How to Encourage More Blooms
Here are a few tips for growing healthy hollyhocks with lots of flowers.
- Amend the planting area with plenty of compost each spring.
- Water the hollyhocks deeply each time you water.
- If you want to encourage more flowers and fewer seeds, pinch off the faded flowers before they seed.
- Since a lot of effort goes into forming those seeds, regular deadheading will encourage more flowers and encourage the plant’s energy to go into producing more flowers, not seeds, leaving the blooms.
- Deadhead the plant at the end of the season to save the seeds or let them fall to reseed for the following year. Keep your hollyhock trimmed and tidy.
Caring for Hollyhock Seedlings
Thinning seedlings
Thinning lets you choose the strongest hollyhock seedlings for your garden. Once hollyhock seedlings have sprouted, thin them to ensure enough space for growth. This helps the plants to stay healthy.
- Seedlings should be spaced about 18-24 inches apart.
- Remove the weakest seedlings and let the strongest grow into big hollyhocks.
Soil
Hollyhocks really like soil that drains well. They’re cool with different types of soil, but they prefer it to be neutral or a bit alkaline. Putting some organic stuff in the soil makes it better for these flowers. Make sure to water your hollyhocks a lot, especially when it’s dry. Give them some balanced fertilizer so they can get all the nutrients they need to grow nice and tall.
Watering
Hollyhocks are quite drought tolerant, but water them often, but let the soil dry out a bit between waterings. Overwatering will rot their roots. If you don’t water them enough, the plants will be stressed. They have big foliage, so they will need lots of water, especially in containers.
Mulch keeps soil moist around hollyhocks.
Sunlight
Hollyhocks prefer a bright sunny area. Give them full sunlight. You can also grow them in partial shade, but to get the maximum flowers, give them at least 6 hours of direct sunlight.
If you live in a hot climate, you should give them afternoon protection so they don’t get stressed.
Fertilizer
Feed your hollyhocks with organic liquid fertilizer during their growth. I use mustard cake, but you can also use seaweed fertilizer. Add some compost and mixed fertilizer every 20 to 30 days to keep them healthy.
Hollyhocks are big plants, so in containers, you have to feed them very well.
Staking and support
Hollyhocks need to be staked to keep their tall stalks from bending or breaking under the weight of their blooms. They can reach over six feet tall! This is especially important in windy conditions or fertile soils. Stakes can be put in at planting time to support the plants as they grow. Tie the stalks to stakes with soft ties or cloth strips to keep hollyhocks upright and tall.
Pruning and deadheading
After the flowers dry up, remove them from the plant. This will help the plants save energy and produce more flowers for a long time.
Also remove any old, damaged, and yellow leaves from the bottom of the plant to keep it clean and disease-free.
Common Hollyhock Pests and Diseases
Hollyhocks are a bit fussy. They get eaten by slugs and can get rust if you don’t take steps to prevent it. The best way to deal with these problems? Grow loads and loads of them! Some will survive. Here are some tips for keeping your hollyhocks happy and healthy:
Rust
Watch for signs of rust and act fast to keep your hollyhocks healthy and looking good.
Rust is a fungal disease that affects hollyhocks. It makes the leaves and stems orange or yellow. It can make the plant weaker and reduce the number of flowers it produces. To prevent rust:
- Give plants space.
- Don’t water overhead.
- Keep your garden clean.
- Remove and throw away infected leaves to stop the disease spreading.
- In severe cases, fungicides may be needed to protect the plants.
Japanese beetles
Japanese beetles eat hollyhock leaves and flowers, leaving skeletonized foliage. Pick them off the plants in the morning when they are less active and put them in soapy water. A healthy garden can help keep Japanese beetles in check.
Pest Control
Hollyhocks can get some pest problems like aphids, spider mites, mealybugs, and powdery mildew.
Spray them with neem oil or any organic pesticide from time to time to save them from disease and pest attack.
Rabbit damage
One of my hollyhocks got eaten enough, but it came back because it was later during the season. Unfortunately, I did lose one that didn’t come back. This year, use Liquid Fence to prevent this from happening again.
Plan on getting as many hollyhock seeds from your plants (if the rabbits don’t eat them!) as possible, and then germinate more. And you’ll have hollyhocks for the next year as well.
Saving Seeds for Next Year
Saving hollyhock seeds keeps a link to your garden’s past and future. It’s like caring for things and looking forward to the next season. Gardening seasons go on forever.
Once you’ve saved the seeds, you can plant them and enjoy the flowers blooming again. This process connects us to nature and our gardens’ history.
Growing hollyhocks from hollyhock seeds to flower is a super fun journey. You get to see the fruits of your labor in your garden. This manual shows you how to sow, look after, and collect hollyhock seeds so your garden is always blooming with these pretty flowers.
Hollyhocks are tall, stunning plants that bring color and charm to any garden. By giving them the right TLC, they can turn into gorgeous plants that attract pollinators and lots of compliments.
These are just some simple things you can do to grow these amazing plants. I love them, and I know you will too!
If you have any questions, let me know in the comments below.
About the Author
With over a decade of hands-on experience in home garden care, I’ve cultivated a deep-rooted passion for nurturing indoor greenery.

